So here is the first post on our blog, Matt and I setup WordPress on Amazon Lightsail, the video is available at the end of this post.
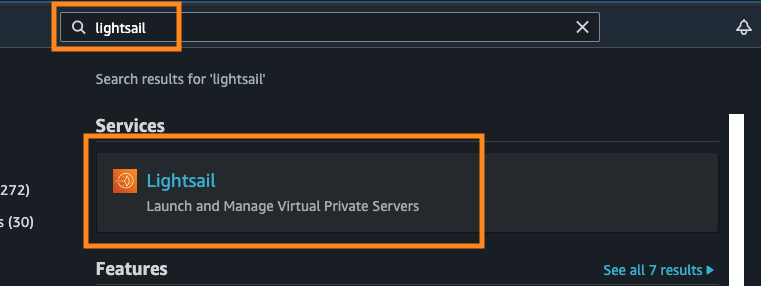
Lightsail is handy, it provides us with a “no hassle” Virtual Machine that also has the benefit of coming pre-packaged with WordPress ( amongst other apps ). To Kick off this process is quite simple, log into the AWS Console, search for Lighsail and click on the service icon.
This will pop you into a “Lightsail Console”, it’s bright and easy to use and navigate around with a menu consisting ( as of August 2021 ) only 5 items:
- Instances
- Container
- Databases
- Networking
- Storage
- Snapshots
The first step is to create an instance, now if you are familiar with AWS/cloud concepts an instance is “an instance” of a virtual machine, ie in this context it’s an EC2 instance with less options and configurations to choose from. As this is a platform for simple configuration you might wonder what happens if I outgrow Lightsail instances and want more control, well there is an escape hatch where you can convert a Lightsail instance to a full EC2 instance accessible inside the AWS console. Now thats actually a good callout, “can I see the resources I create in Lightsail in my AWS Console?” the answer is no, all resources created inside Lightsail are abstracted away from the AWS Console.
So lets click “Create instance” and check out the options:
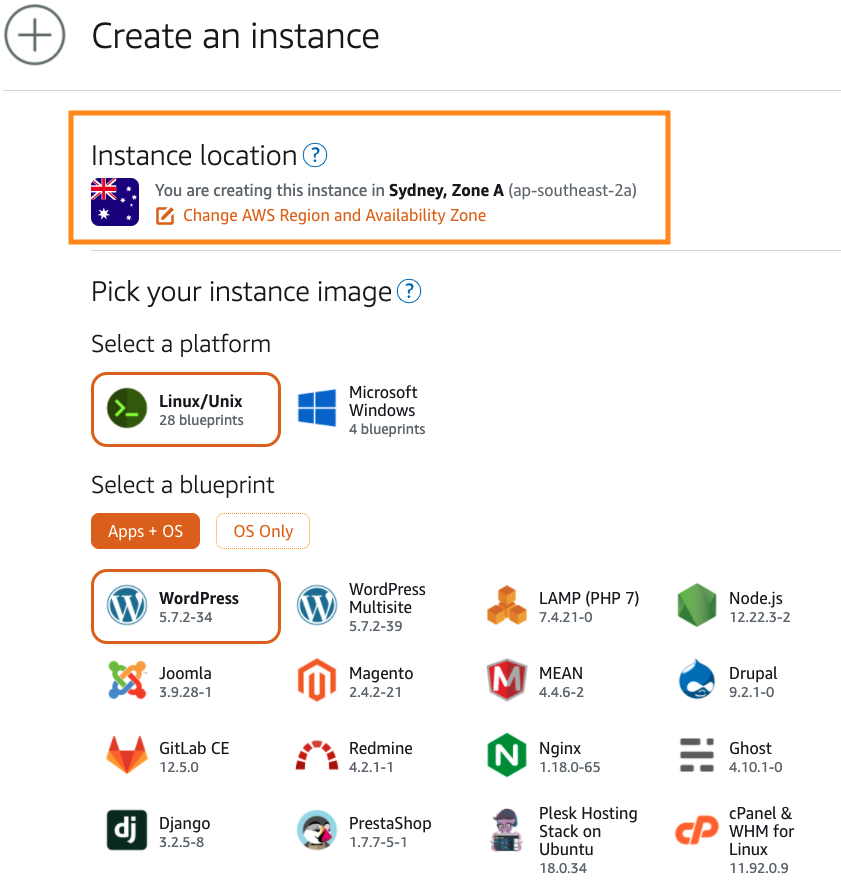
We can see there are quite a few options to choose from, but all I really want is a WordPress blog, I don’t want to know about the operating system, or actually anything much about the environment at this stage I simply want a WordPress blog, thats fast and has and SLA so I’ll select the region and an Availability Zone. Pick the region closest to your main audience base where possible. Then select “WordPress” and scroll down.
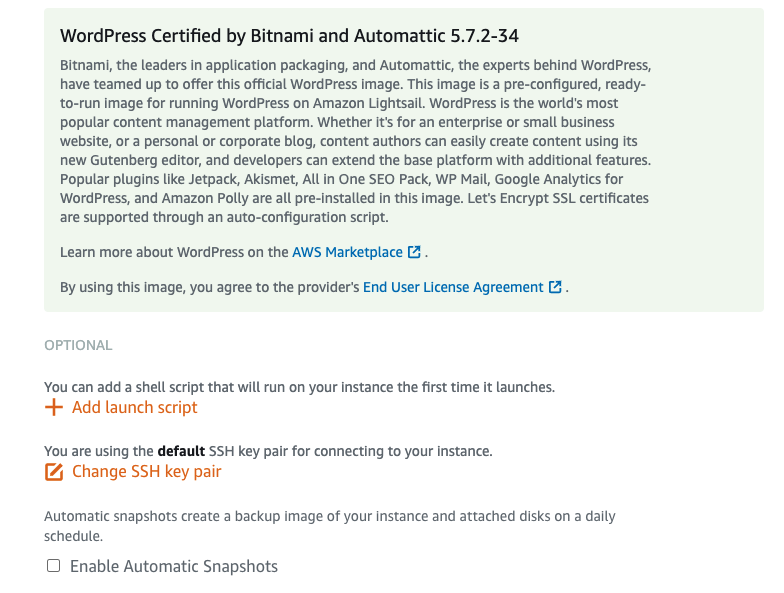
We see some text around the Bitnami Certified Image that is built by Bitnami for WordPress, basically Bitbnami have built and distributed images that are pre-baked WordPress configuration with some extra bells and whistles and plenty of documentation if you need advanced configuration. We also have optional launch scripts ( think userdata for ec2 ) and the ability to configure the ssh keypair. You’ll need that ssh key pair to connect to the instance from your favourite ssh tool.
We also have the option to setup automatic backups ( snapshots ) of the instance. Go ahead and configure this if required.
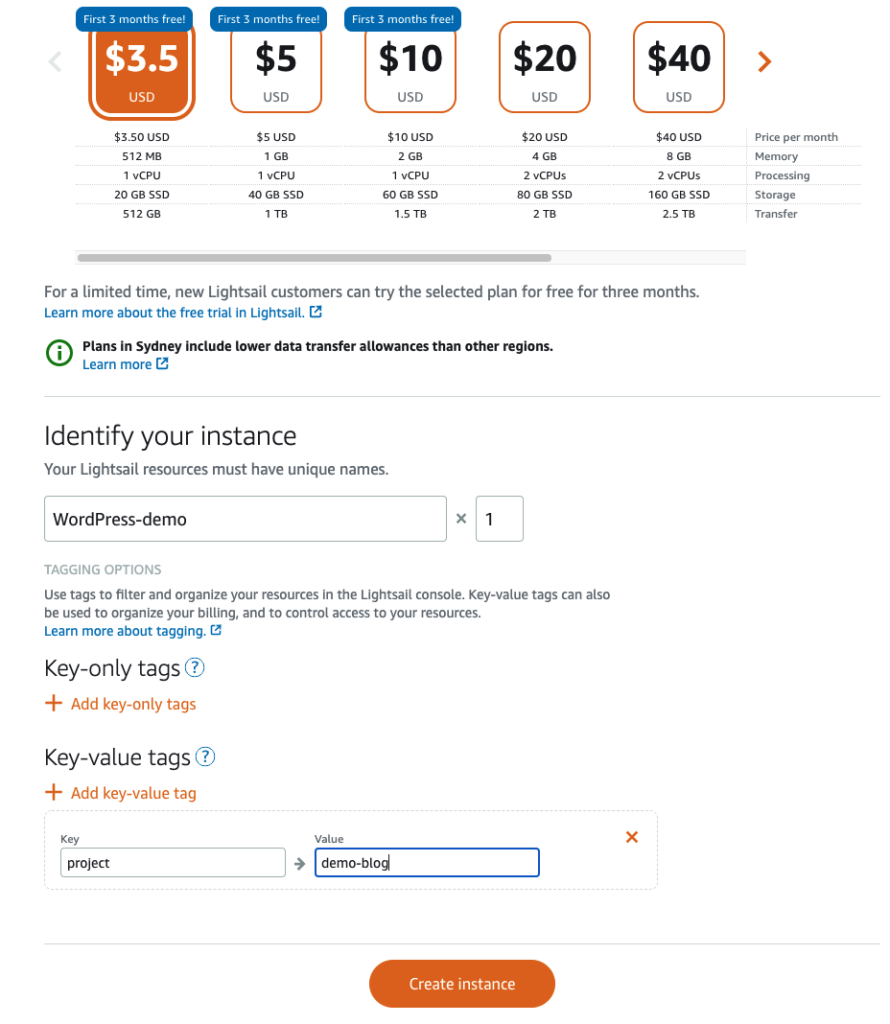
Next up we can choose the instance plane, this is a simple layout that provides easy to understand and follow pricing. If you know the traffic usage this might help you determin the best plan, if not start small, there are logs and metrics to follow and if the site begins to run slow or runs out of data transfer you can always take a snapshot and restore from that snapshot onto the next size up.
Provide a name for you instance and how many you require. Again for this initial deployment stick with 1 instance and add some tags to help identify your project and click “Create instance”
Almost immediately you’ll see that instance in a “Pending status” and slightly greyed out, after a short wait this will change to “Running”.
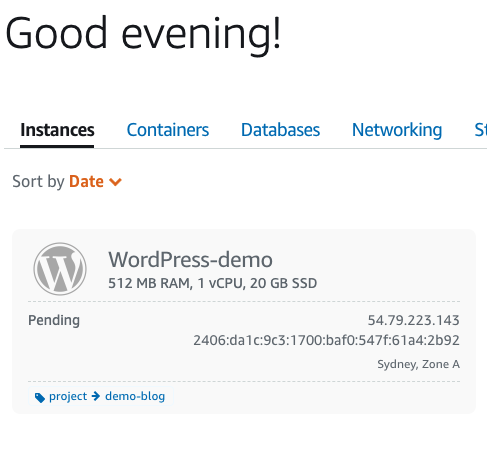

At this point out blog should be up and running, let’s take a look.
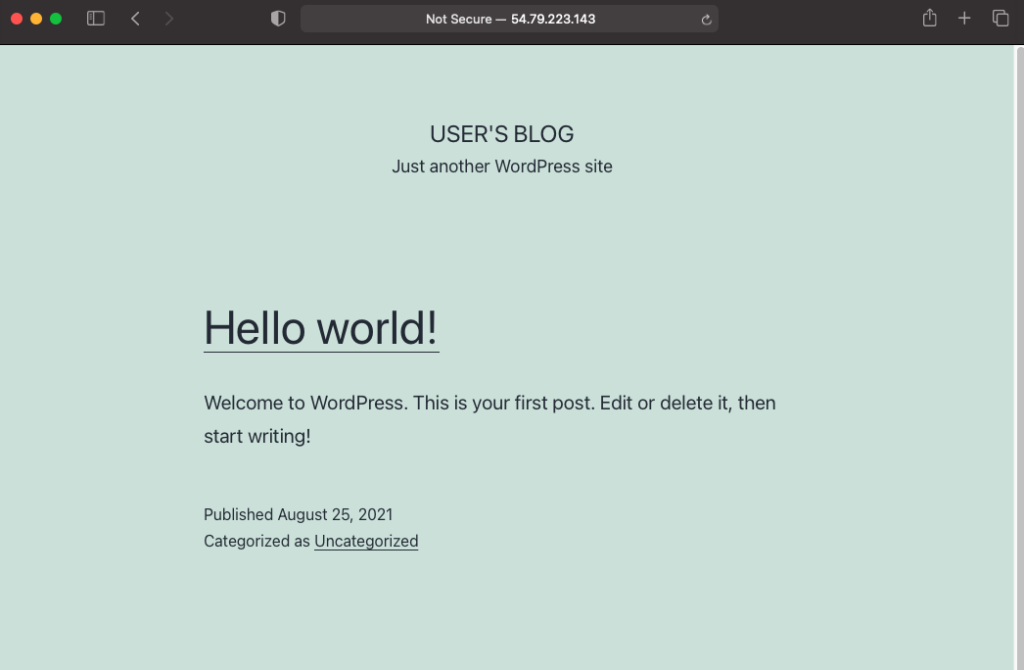
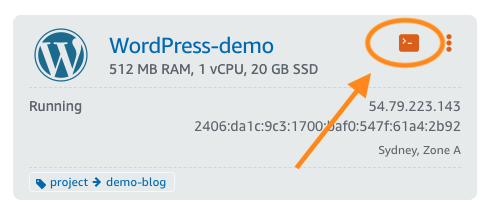
The blog is now up and running. So how do I log in and post content? Simply visit the http://ip-address/wp-admin the default username is user and the password can be found by connecting to the Instance by clicking the “terminal” icon:
Which will open a terminal in the browser:
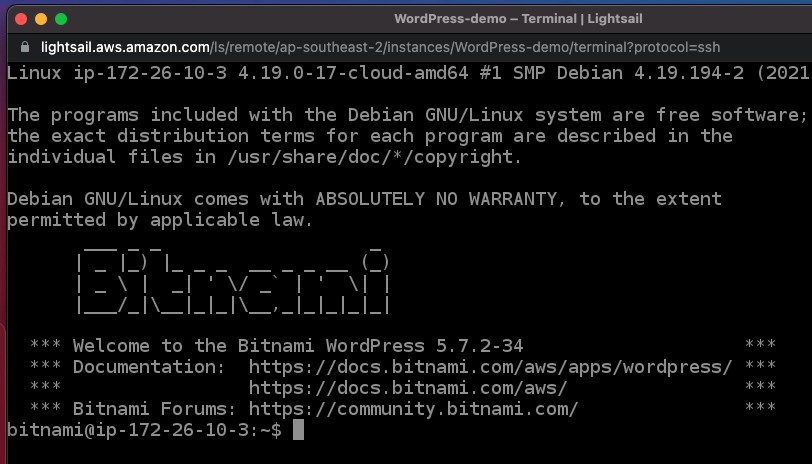
and running the following command
cat bitnami_application_passwordhttps://lightsail.aws.amazon.com/ls/docs/en_us/articles/amazon-lightsail-quick-start-guide-wordpress
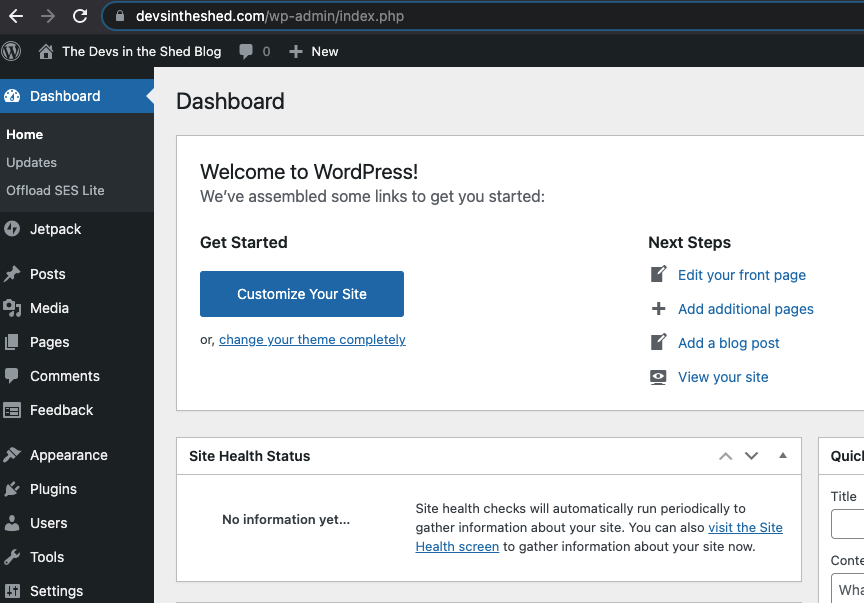
You can now begin posting content and personalising the blog. In the next update we will cover Connecting your own domain to a Lightsale WordPress blog.